It's day two of the
Lil' Inker Designs
New Release Hop and I get to share even more fun goodies with you
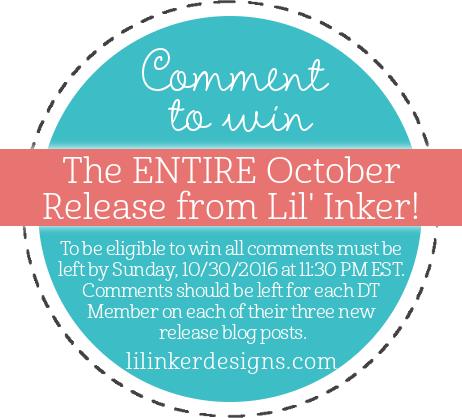
today as well as a new prize for commenters! I'm sure you've already been eyeing all the awesome new items, lucky
for you, you can get it all right now in the
Lil' Inker Store. Hopefully, you checked out all of
Karen's amazing creations before hopping here. If not of it you get lost along the hop
you can always find your spot by going to the
Lil' Inker Blog. For now, I'm ready to show off some more fun stuff!
First up, I decided to try my hand at lighting a card up and this
Baubled Christmas Wreath Die seemed like a perfect shape to light. I paired it with the new
Merry Christmas Word Die and some previously released items to make this enlightening card. ;)
I started by card by cutting my wood paper with the
Stitched Mats: Dual Stitched Rectangles. This gave me the layers I needed to create my circuit. I embossed the top rectangle using the
Quilted Stitched Spirals Die. Next, I cut my
Baubled Christmas Wreath Die from green and added a layer of vellum to the back, trimming around the edges. The vellum hides my circuitry and bulbs while also softening and dispersing the light. I added my shiny red
Merry Christmas to the wreath and added some holly using the
Holly Jolly Dies. I arranged the holly over the spot where you could press to light the wreath. You can find a ton of YouTube videos on how exactly to create a lighted card so, I won't go into the exactly layout of my circuit. After I had my battery and lights in place, I added my wreath with some foam tape to finish the card. Here's a closer look at the card both lit and unlit:
Next up, I created this simple and fun shaped card using the new
Merry Christmas Border Die.
I started with a cute holly paper cut using the
Wonky Rectangles Dies. I cut another Wonky Rectangle from a vellum and a green patterned paper. I layered the vellum cut over the holly paper to add a soft touch. Then, I used the
Merry Christmas Border Die to divide my green rectangle before adding it to the front. I loved the look of it but felt it needed a touch of holly to finish it off. So, I used the
Holly Jolly Dies and an enamel dot to complete everything. Here's a closer look:
I hope you enjoyed my creations
and will join the rest of the team on the hop. You'll want to leave
comments along the way because Laura has decided to shake things up and give away the
ENTIRE RELEASE to one lucky commenter. It could be
you. I'm sure I'll see you on the hop and tomorrow for another fun day
of release projects. See you then!
Chrissy Larson <---Yup, that's me!!!
Don't forget you can check out the new release right now in the
Lil' Inker Store and you can get all the goodies I used today. Here's what I used: